16
How to Optimize Images for the Web: Convert to the Right Formats
Learn how to optimize images for the web by converting them to the right formats. Improve load speed, SEO, and user experience with easy tools.
Introduction
Images make websites visually engaging and communicate information faster than text alone. However, they are also one of the largest contributors to page size. If not optimized, they can slow your site, hurt SEO, and increase bounce rates.
Fortunately, optimizing images is not complicated. The key is to use the right image format for each type of content and to convert images into modern, efficient formats before uploading them.
In this article, you will learn:
- Why image optimization is important
- Which image formats are best for the web
- How to convert images quickly using free online tools
- Best practices for maintaining image quality while reducing size
Why Optimizing Images Matters
1. Faster loading times
Images often account for more than 50% of a webpage’s size. Reducing their weight makes pages load faster.
2. Improved SEO
Search engines like Google use page speed as a ranking factor. Faster pages rank higher.
Reference: Google PageSpeed Insights
3. Better user experience
Slow-loading images frustrate visitors, especially on mobile or slow networks.
4. Lower bandwidth and storage usage
Smaller image files reduce hosting costs and load less data for users.
5. Higher conversion rates
Faster pages keep users engaged, which improves conversion rates for e-commerce or lead generation.
Reference: Google Web.dev - Why speed matters
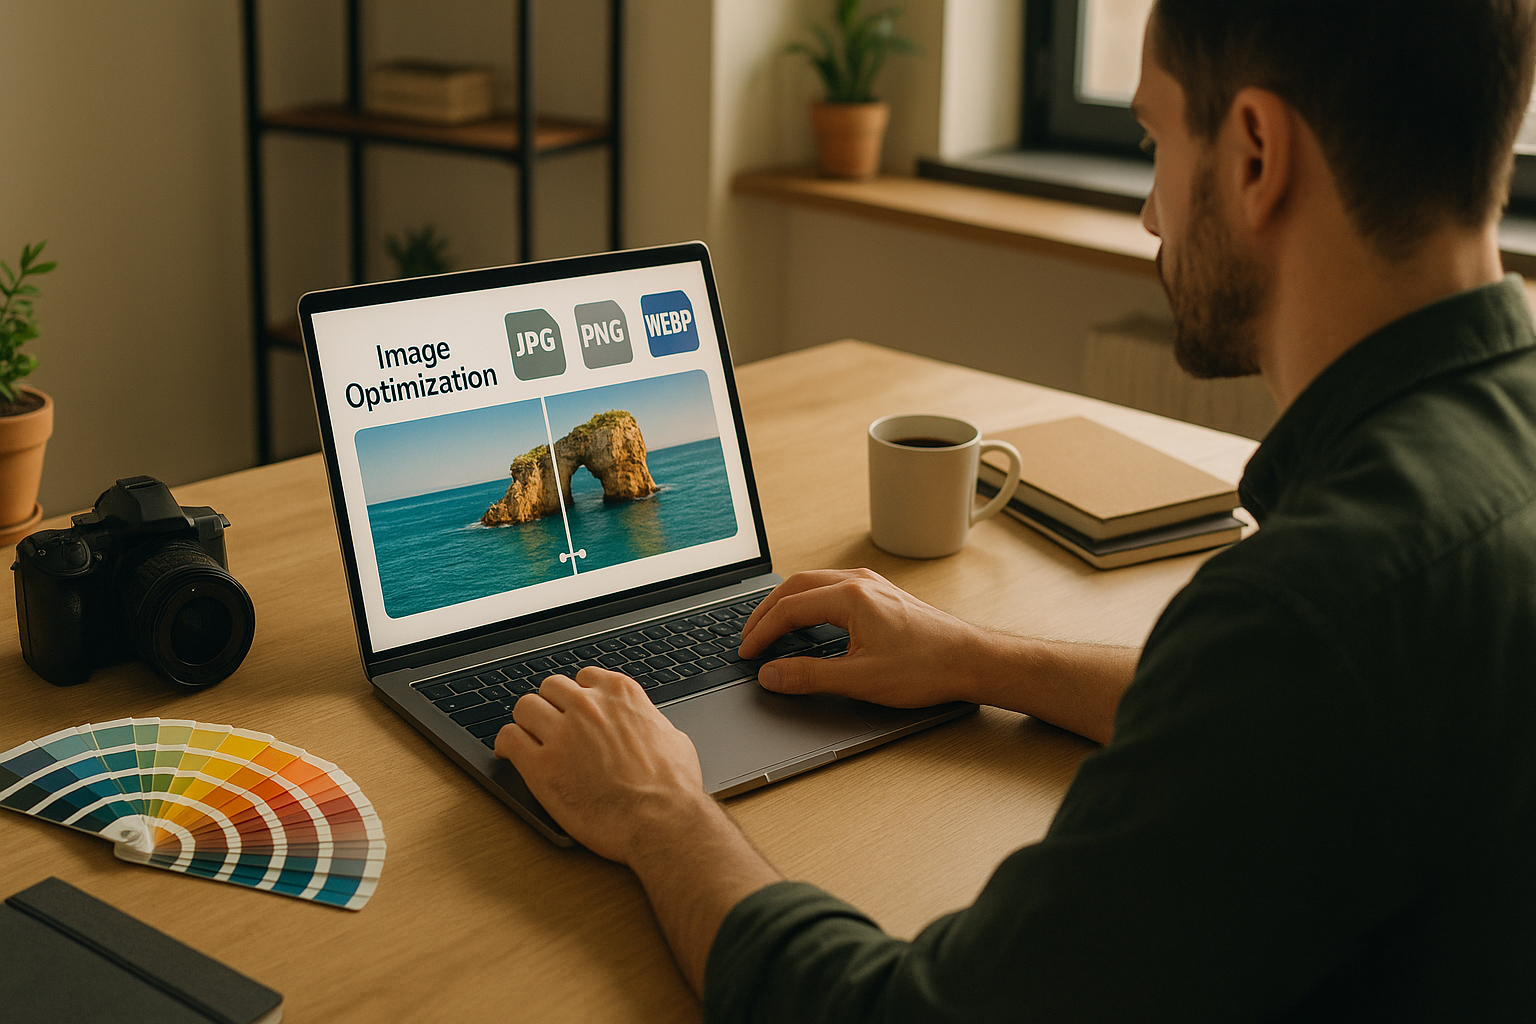
Understanding Common Image Formats
Choosing the correct format for each image type is essential. Here are the main formats used on the web:
JPG (JPEG)
- Best for photos and complex images with many colors
- Smaller file size but lossy compression (some quality is lost)
- Widely supported
Use for: product photos, banners, blog images
Reference: Adobe - JPG format
PNG
- Supports lossless compression and transparency
- Larger file size than JPG
- Sharp edges and clear backgrounds
Use for: logos, icons, graphics with text or transparency
Reference: Adobe - PNG format
WEBP
- Created by Google for modern web use
- Much smaller file size than JPG or PNG with similar quality
- Supports transparency and animation
Use for: most web images for best performance
Reference: Google Developers - WebP
How to Convert Images to the Right Formats
Using browser-based converters saves time and requires no software installation. Here are the best tools from Recipesz Online Tools for converting your images:
JPG to PNG
Converts JPG photos to PNG for transparency support and clearer edges.
When to use:
- Turning a product photo into a logo
- Preserving quality when editing
- Adding transparent backgrounds
JPG to WEBP
Converts heavy JPG images into lightweight WEBP format without losing visible quality.
When to use:
- Optimizing blog photos and banner images
- Reducing loading time of photo galleries
- Improving mobile site speed
PNG to WEBP
Turns large PNGs into smaller WEBP files while keeping transparency.
When to use:
- Optimizing logos, icons, and graphics
- Reducing file size of transparent images
- Preparing assets for high-performance sites
WEBP to JPG
Converts WEBP back to JPG for compatibility with older software or platforms that do not support WEBP.
When to use:
- Submitting images to systems that require JPG
- Editing WEBP images in older design tools
- Printing images from WEBP sources
WEBP to PNG
Converts WEBP into PNG for situations that require transparency or lossless quality.
When to use:
- Maintaining transparency for graphics
- Editing images without losing detail
- Using files across multiple design platforms
Best Practices for Optimizing Images
1. Choose the right format for the image content
- Photos → WEBP or JPG
- Icons/logos → WEBP or PNG
- Transparent images → WEBP or PNG
2. Resize images before uploading
Do not upload a 4000px-wide image if you only need 800px on your site.
Reference: Shopify - Image sizes
3. Use compression tools if needed
You can use additional image compression tools after converting formats to squeeze extra size without visible quality loss.
Reference: TinyPNG
4. Add descriptive filenames and alt text
Helps search engines understand the image and improves accessibility.
Reference: Google Images SEO
5. Test your site performance
Use tools like PageSpeed Insights to measure how your images affect loading times.
Example Optimization Workflow
Here’s a simple process to follow before uploading any images to your website:
- Resize the image to the correct display dimensions
- Convert the file to WEBP using JPG to WEBP or PNG to WEBP
- Compress the new WEBP file with a tool like TinyPNG
- Add an SEO-friendly filename and alt text
- Upload and test page load speed
Following this checklist will reduce image size drastically while keeping quality high.
Conclusion
Image optimization is one of the easiest ways to speed up your website and improve both SEO and user experience. Choosing the right format for each image type and converting them with fast online tools makes this process quick and painless.
Use the free converters on Recipesz Online Tools such as JPG to WEBP, PNG to WEBP, WEBP to JPG, and WEBP to PNG to optimize your images before publishing.
Your website will load faster, rank better, and deliver a smoother experience to every visitor.
Contact
Missing something?
Feel free to request missing tools or give some feedback using our contact form.
Contact Us